Garrattfan's Modelrailroading Pages
Fairlie Merddin Emrys
7.1 Detailing: boiler
Chimneys |
|
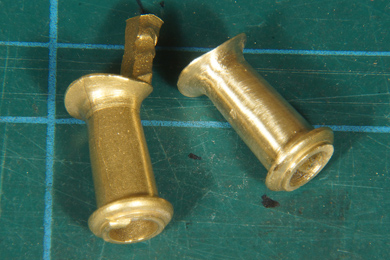 |
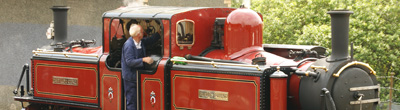
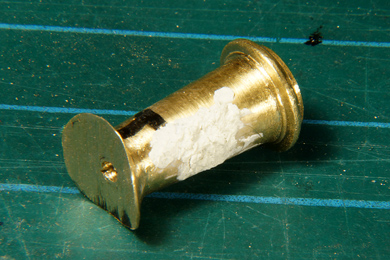
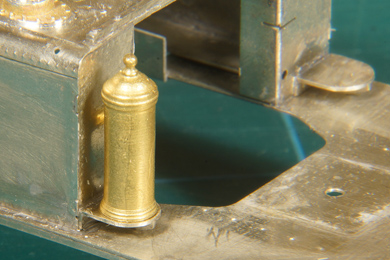
While the putty was hardening I started work on the chimneys [190], the result of which one can already be seen on the photo.
Although the brass castings are pretty good they still require a lot of care to produce good results. All casting marks need to be removed. To enable easy clamping of a part I usually remove the part from the sprue only after all cleaning up has been done and fitting on the model begins. |
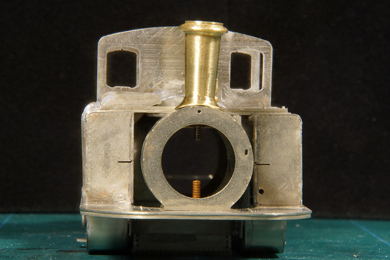 |
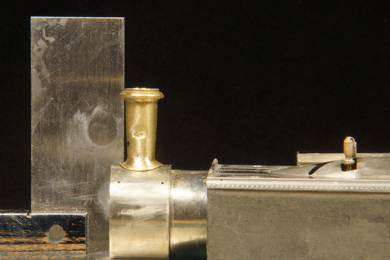
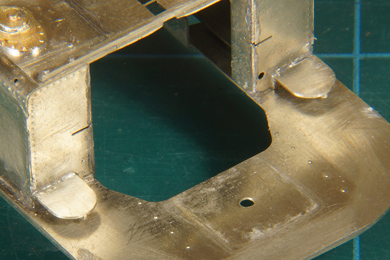
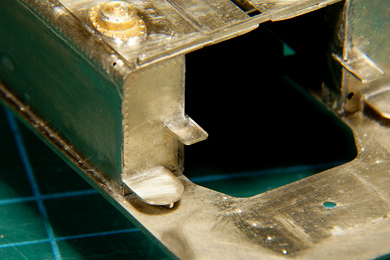
The chimneys are put in place by inserting the bolt from the top. The hole through the chimeny bottom as well as the inside of the chimney needed some cleaning up.. It proved no easy task to get the chimneys sit straight on the model. It leaned a bit backwards (photos below) and a bit sidewards (photo left). I worked, filed and corrected until it sat well. At the same time I also tried to get the rim of the chimney flange, that connects to the smokebox, as thin as possible. On models they are usually unprototypically thick. |
 |
 |
| When taking these photos I noticed that a dent had come into one of the chimneys as a result from clamping the part. | |
 |
I repaired the damaged chimney by filling with putty and some filing and sanding. No big deal. |
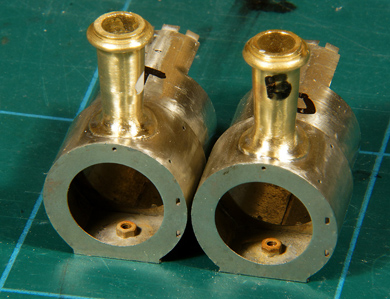 |
I marked the chimneys (T) and B, not only to remember on which smokebox they were made to fit but also in which direction (outward or cabward) so as to maintain the right position.
Once I was happy with them I soldered them to the smokebox. The bolt to fix the chimeny in place looses its function but I left it in. It looks superfluous to solder as well but it ensures a seamless fit. |
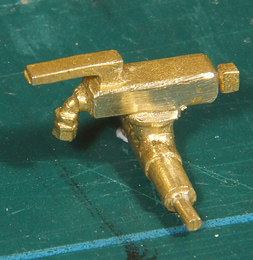
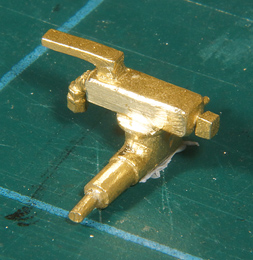
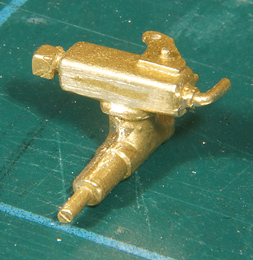
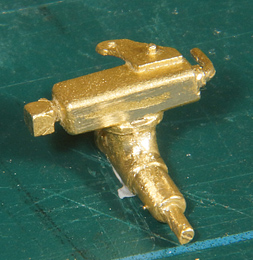
ManifoldsThere are two different manifolds [192]: |
|
The top end manifold |
|
The bottom end manifold |
|
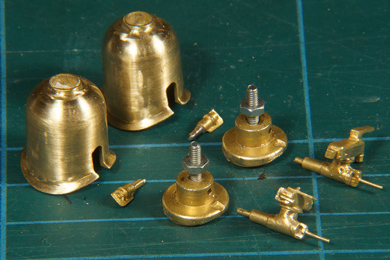 |
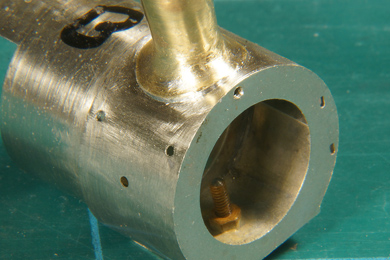
The manifolds need careful preparation by removing flash and filing the casting marks. The dome base is drilled horizontally (1.0 mm) to receive the manifold and vertically (2.0 mm) to take a bolt to attach to the boiler instead of tapping it 10BA [191]. The dome covers are filed and sanded carefully. Although I am a happy and determined solderer, I decided to glue the safety valves with epoxy once the domes are in place on the loco. They are very difficult to solder. The manual tells you to leave the parts for later and that is sound advice. You have to add a lot of piping to the manifold and the holes for that must still be drilled. |
Tank fillers |
|
 |
I soldered the four tank fillers and their hatches in place [200-201]. To aid correct outlining I scribed a thin on the length of the tanks straight through the centre of the hole where the tank filler sits over. |
Sand pot brackets |
|
 |
Assembling the sandpot brackets may pose no problem [203-204]. I only took the precaution of soldering with 240 C solder so it won't come apart quickly when soldering it to the tank front. |
 |
Soldering was done with a quick pass of a hot iron with 180 C solder, so as not to disturb the solder joint of the bracket. |
 |
The sandpots [206] are best left off for the later painting of the model. Two reasons:
After painting they will be put in place with 5 min epoxy. |
Steps |
|
 |
The steps [205] will be in your Separated From Etch And Store For Now Box. They became separated in a very early stage in the build, when you started with the tank's side sheets, so you may easily have forgotten about them. So just to remind you, look in that storage box! In my case the slots for the steps to sit in were not aligned at the back of the tanks so needed a little working with a thin cutting disk. Be very gentle, this is a delicate operation. Soldering was easy though. |
Handrails |
|
 |
22 holes need enlarging to 1.1 mm. I found much to my surprise that the handrail knobs were not in my kit and I could not find any evidence that they ever have been. I mailed EDM to inquire about them. For now I continued with other detailing other parts of the loco.
It took a little while but the handrail knobs suddenly landed on my doormat. I added them in a far later stage of detailing so described that when detailing the top side and the bottom side |
Smokebox doors and handwheels |
|
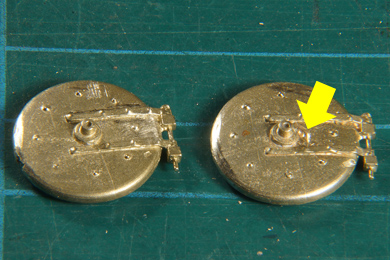 |
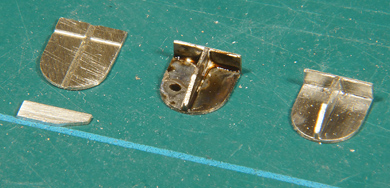
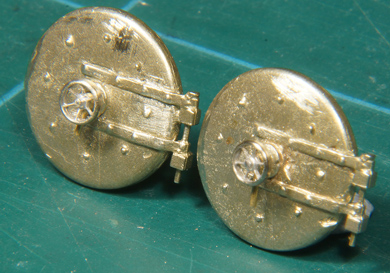
[222-226] The smokebox doors are thick brass cast parts. They need careful sawing off the sprue. They are too thick to cut. Some filing and cleaning up was needed. The door on the right of the photo has a deep pit near the smokebox handwheels and that needs to be filled later. |
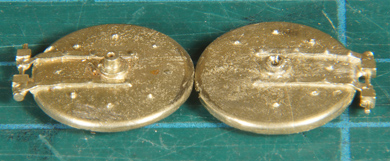 |
[228] The centre boss on the door is way too high and I filed it down to about 0.2-0.3 mm. I drilled the centre hole 0.8 mm and chamfered the sides so the somewhat round back of the dart would sit flush. |
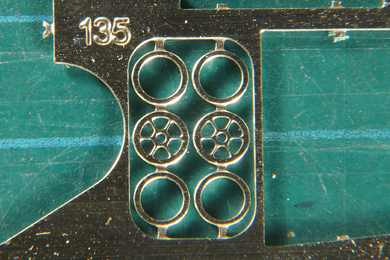 |
The handwheels are made from three etched parts, a spoke wheel and two rings [229-230]
|
 |
Do not separate the three parts but fold the rings over. This way the parts always stay together, making soldering much easier. |
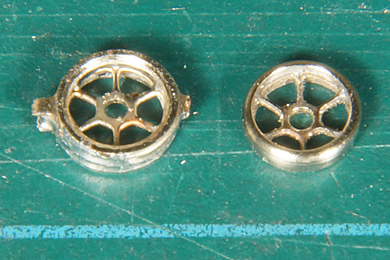 |
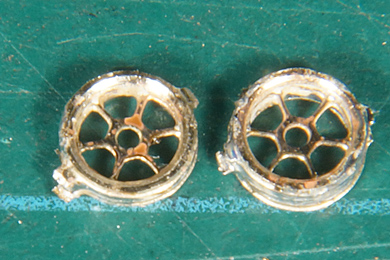
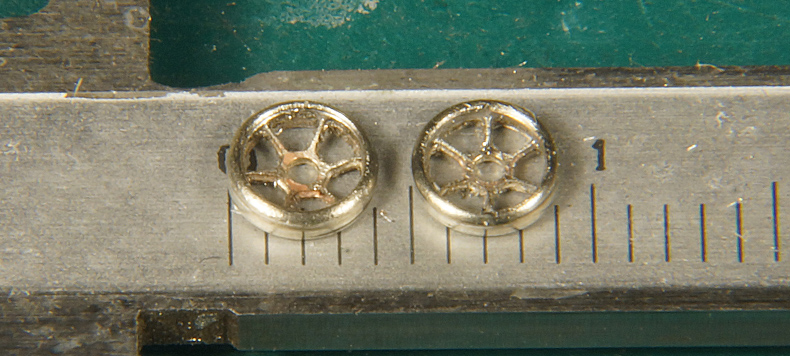
For starters I found the handwheels too thick, three layers add up to 1.6 mm including the soldering margin, and I sanded both sides down to achieve 1.2 mm total thickness.
Then a lot of filing is needed, first to remove the etch bridges but then to round off the flat metal to anything that resembles a handwheel. I started out filing manually but soon got fed up with it. I made a placeholder by slimming the stem of a M1.0 cheese head bolt and put it in my Proxxon drill as a lathe. I worked with a file and sanding paper until one side was round, turned it over and did the other side |
 |
|
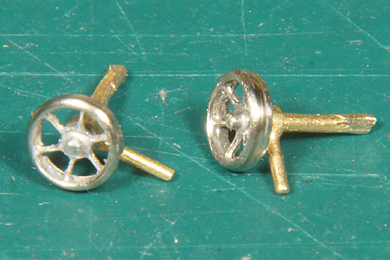 |
I used 140 C solder to put them on the dart.
Note: The manual refers to the darts under two names
Anyhow they cannot be found in supplied excel parts list but they are attached to sprue 38 |
 |
Doors done. The darts are still loosely inserted, but after the door has been placed I will fix them with 5 min epoxy. |
.JPG)
.JPG)

Sign my
GuestBook